Can you automate anything with Azure Automation?
While there are some limitations on what it can and cannot do, I thought I could have a bit of fun using some of the fairly new features in Azure Automation to show that even though the main purpose of this service is to automate management tasks in the cloud (and in your local datacenter using hybrid workers), since it’s built on PowerShell, there really isn’t that much you cannot do.
I’ve been trying to come up with a scenario that is a bit of fun, and at the same time shows how you can use features like hybrid workers and webhooks to overcome almost any obstacles you have when automating something that spans over different services and locations.
This is what I came up with:
Let’s say I’m on my way home from work, it’s autumn and the rain is pouring down. I feel tired, cold, and just want to come home and grab a nice cup of coffee. To detect if something is running out of resources (in this case me), and to trigger something that can fix it (in this case, coffee) is a pretty common scenario in IT.
And to simulate that a process like this might span over multiple services where some are in the cloud (in this case iCloud, twitter and a weather service), while others are in your local datacenter (or in this case the coffee brewer in my kitchen), we are going to run parts of the code in Azure Automation and parts of it on a hybrid worker, everything orchestrated with Azure Automation.
The steps involved, at a high level, will be:
- Fetch the location of my phone through iCloud
- Use that information to fetch the weather data at that location, and check if it’s going to rain
- If rain was detected, start with sending out a tweet asking if I would like some coffee, if the reply is positive, brew some coffee.
- If no reply to the tweet is detected, it will send out an e-mail with a link to a page where the coffee brewer can be started with a button (that calls a runbook through a webhook)
So let’s get started!
So, where am I? And how’s the weather?
I don’t work at the same place everyday, so I don’t want to hard code the location where the weather is checked. Wouldn’t it be great if I could just fetch this information dynamically somehow? Well, with Azure Automation and some PowerShell, I can.
Since I carry around a smartphone with a GPS all day long, I thought that would be a good source for location details, and since you can fetch your location information through iCloud when you have an iPhone, this was the method I chose to do it.
Disclaimer: This code is for educational purposes ONLY, I do not take any responsibility if you use this outside of the ToS for the different services utilized here.
So I started with creating a PowerShell-function that could fetch my phones location through iCloud, if you want to take a look at it, it’s available here.
We then need to fetch some weatherdata at that location, luckily, I’ve already built a function like that before, blog post available here.
So, I have the tools to fetch my current location and the weather at that location. But how do to use this in Azure Automation?
Importing custom modules in Azure Automation
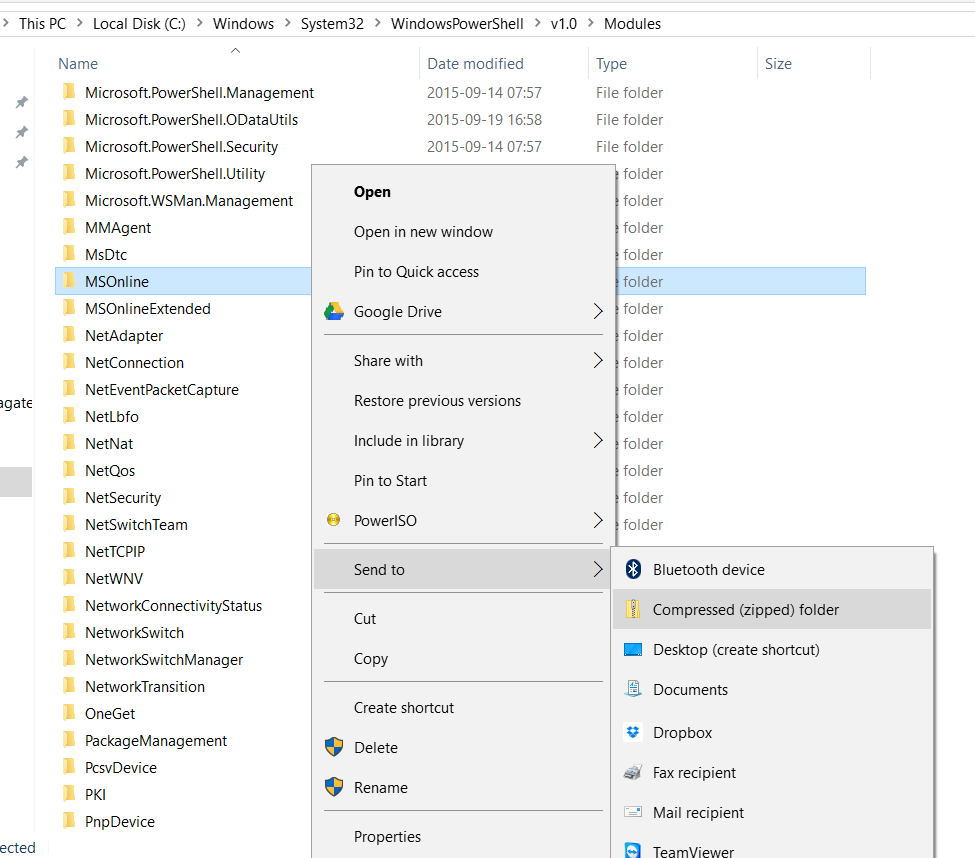
This is actually really simple! You can import almost any PowerShell module into Azure Automation, as long as you zip it up in folder with the same name as your module file. So I took my two functions above and put them into a WebUtilities.psm1-file. I then put that file into a WebUtilities-folder, and finally zipped it all up as “WebUtilities.zip”. If you want to learn more about how to create integration modules for Azure Automation, including creating an optional file containing information about a Azure Automation connection-variable, more information about that is available here.
We then need to import this into Azure Automation. The screenshots that follows are from the “classic portal”, but you can do this in the preview portal as well:
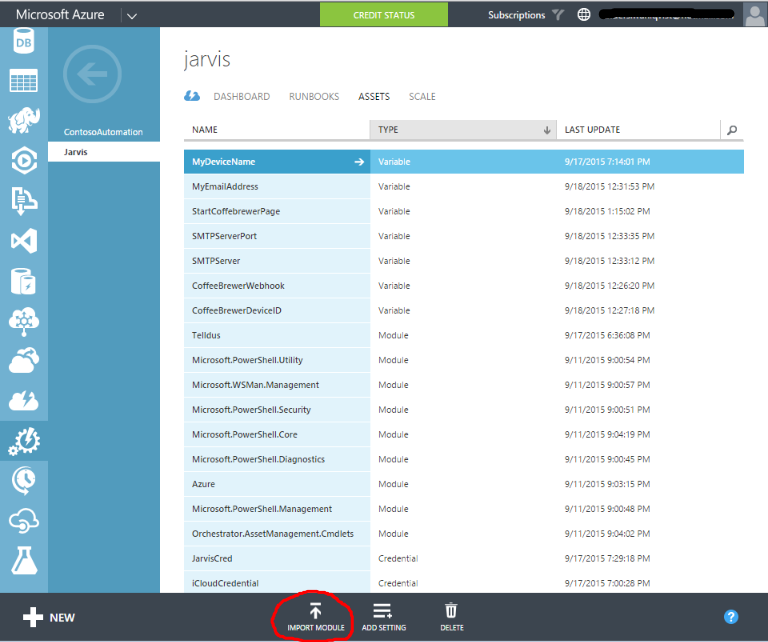
First find the automation account you want to use, go to assets, and then click “Import Module” at the bottom:
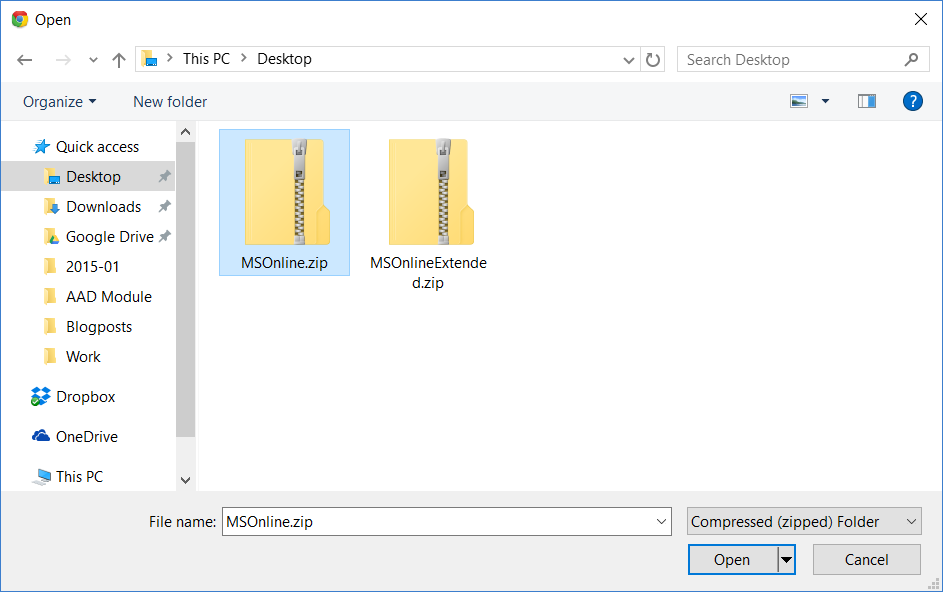
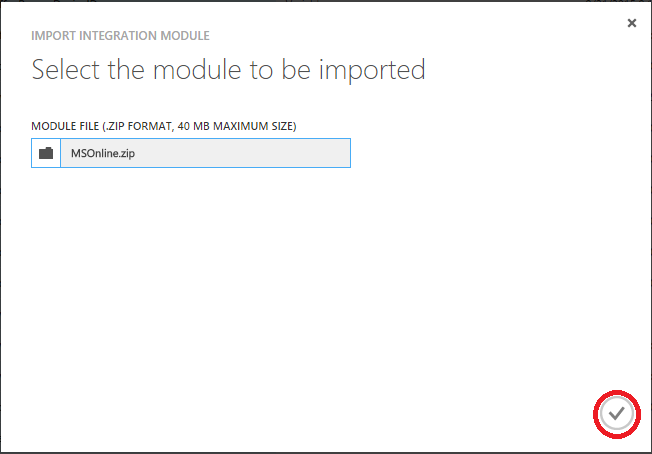
Browse to your zip-file and click open to select it and press “Complete” down in the right corner:

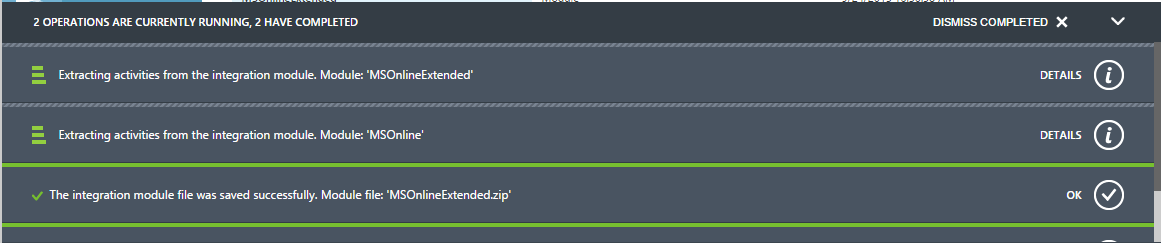
Azure Automation will then begin to import the module and extract the activities it contains, you can follow the process at the bottom of the page:

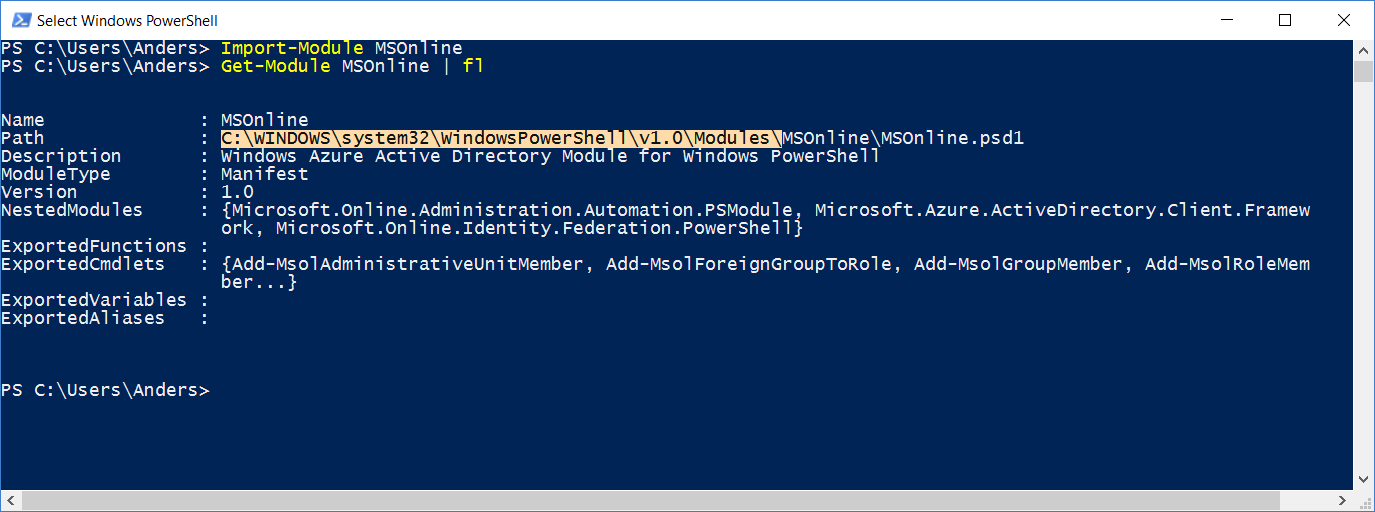
These functions are now available in our PowerShell Workflows and PowerShell runbooks. Neat huh?
(The custom modules you import will not, at the time I’m writing this, be pushed to your hybrid runbook workers automatically. The Azure Automation team is working on that though, so it will happen eventually. In the meantime, you need to do this yourself.)
Writing the code…
It is now time to use the functions and actually write the code needed to tie everything together. There are many cool new features regarding Azure Automation but one of my favorites are the PowerShell ISE AddOn the Azure Automation team is working on, if you work with Azure Automation I can’t recommend you to check out the GitHub repository for it enough, and ever since I did the build straight from the source it has been working pretty well considering it’s still a very early release.
This is how my setup looks (ISESteroids, another great product, is also used here):
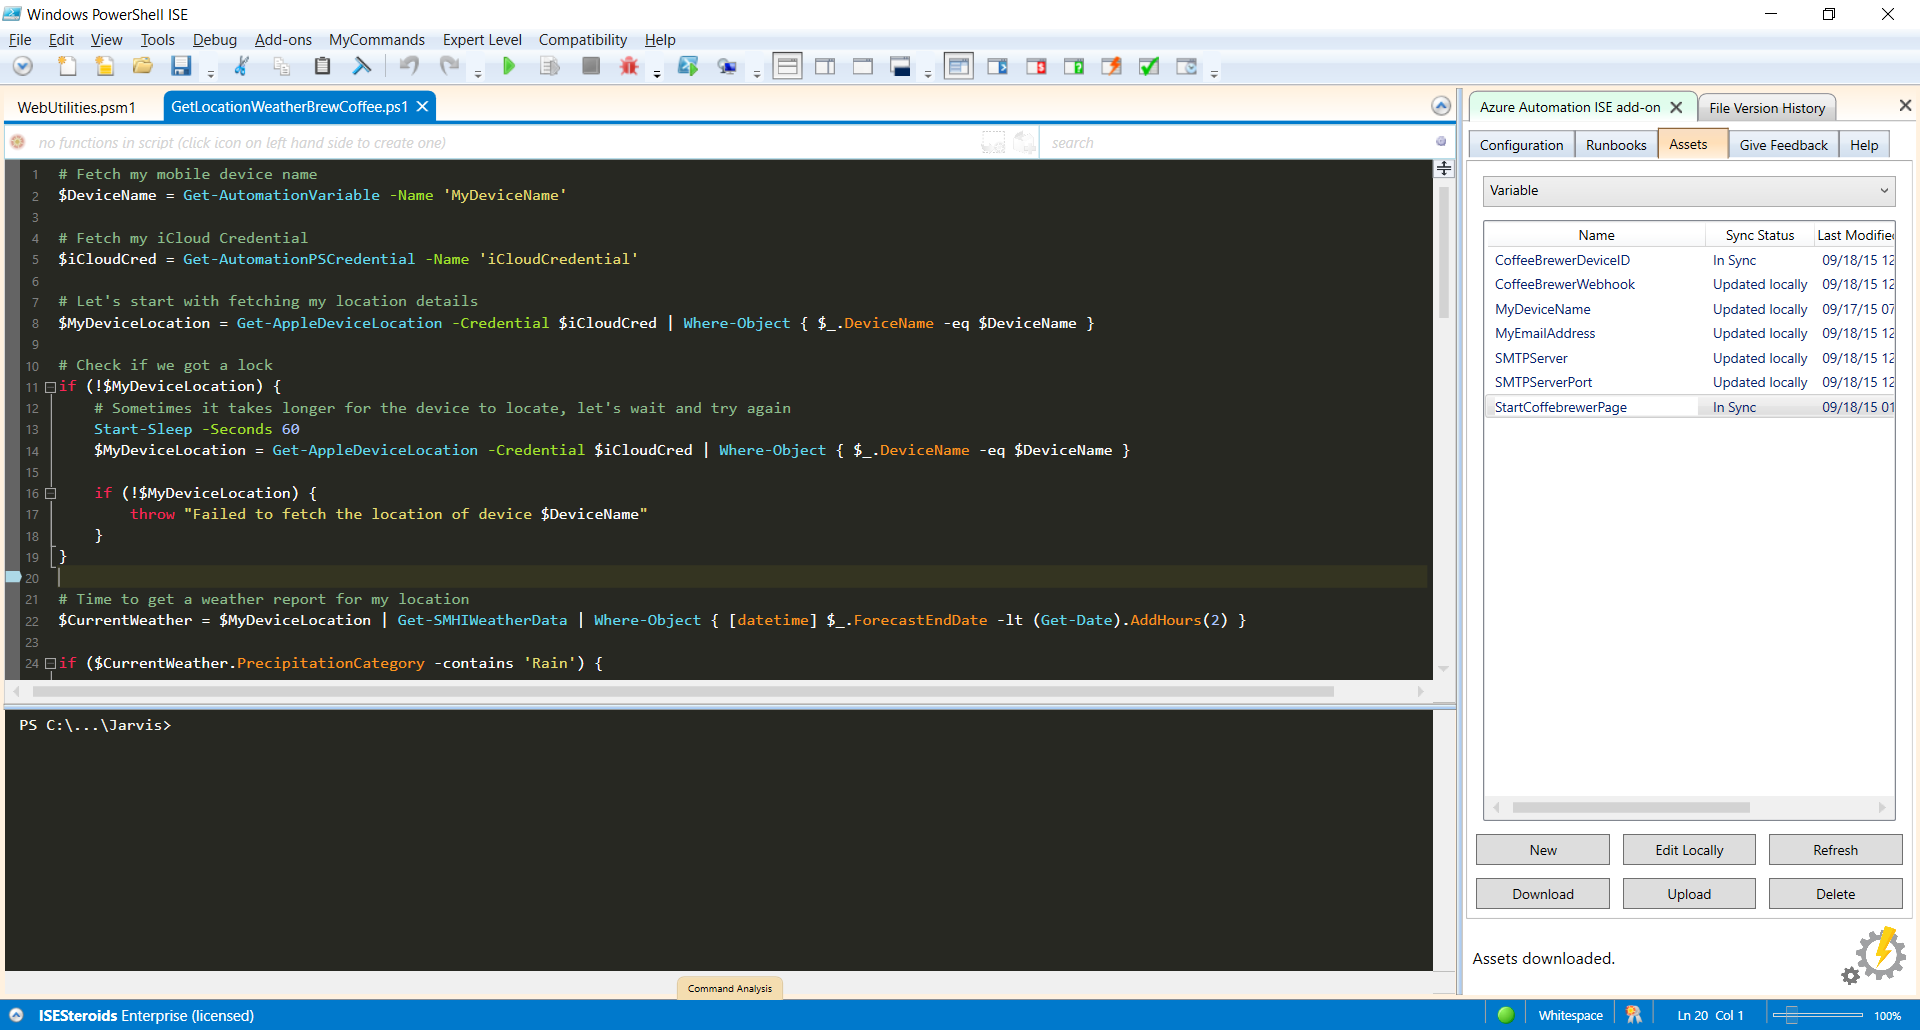
In addition to enabling you to use all of the features of the PowerShell ISE (and ISESteroids if you use that), this AddOn enables you to for example; fetch your runbooks straight from Azure, upload changes, run the code locally with emulated activities, test the code in Azure, and manage your assets so they are available when you test the code locally.
The productivity boost you get from this in comparison to the text authoring and testing experience in the portal, at least in my experience, is huge. So go ahead and try it out!
So, back to the code itself. As stated above, the steps involved here will be:
- Fetch the location of my phone through iCloud
- Use that information to fetch the weather data at that location, and check if it’s going to rain
- If rain was detected, start with sending out a tweet asking if I would like some coffee, if the reply is positive, brew some coffee.
- If no reply to the tweet is detected, it will send out an e-mail with a link to a page where the coffee brewer can be started with a button (that calls a runbook through a webhook)
Regarding tweeting from PowerShell, I want to give full credit of that to Adam Bertram‘s MyTwitter-module, thank you Adam! 🙂
And since the PowerShell community is so awesome, this is a pretty common scenario aswell, you build a few functions of your own, and you find some from others. Just zip it up and import it in the same way as the above functions. To use the MyTwitter-module, you also need to add API keys, just follow Adam’s instructions and you’ll be fine!
The code for the runbook, which I haven’t put too much effort into since it’s mostly a proof of concept, looks like this (native PowerShell script runbook!):
# Fetch my mobile device name
$DeviceName = Get-AutomationVariable -Name 'MyDeviceName'

# Fetch my iCloud Credential
$iCloudCred = Get-AutomationPSCredential -Name 'iCloudCredential'

Write-Output 'Fetching device location...'

# Let's start with fetching my location details
$MyDeviceLocation = Get-AppleDeviceLocation -Credential $iCloudCred | Where-Object { $_.DeviceName -eq $DeviceName }

# Check if we got a lock
if (!$MyDeviceLocation) {
    # Sometimes it takes longer for the device to locate, let's wait and try again
    Start-Sleep -Seconds 60
    $MyDeviceLocation = Get-AppleDeviceLocation -Credential $iCloudCred | Where-Object { $_.DeviceName -eq $DeviceName }

    if (!$MyDeviceLocation) {
        throw "Failed to fetch the location of device $DeviceName"
    }
}

Write-Output "The following data was fetched from the device:`nLong: $($MyDeviceLocation.Longitude)`nLat: $($MyDeviceLocation.Latitude)"


# Time to get a weather report for my location
$CurrentWeather = $MyDeviceLocation | Get-SMHIWeatherData | Where-Object { [datetime] $_.ForecastEndDate -lt (Get-Date).AddHours(2) }

if ($CurrentWeather.PrecipitationCategory -contains 'Rain') {

    Write-Output "Rain is predicted soon, I'm gonna ask if he wants a cup of coffee. Sending out a tweet..."

    $SourceTweetHandle = Get-AutomationVariable -Name 'SourceTweetHandle'
    $TargetTweetHandle = Get-AutomationVariable -Name 'TargetTweetHandle'
    New-MyTwitterConfiguration

    $Tweet = Send-Tweet -Message "@$TargetTweetHandle I got a feeling you would you like some coffee. Want me to fix it for you?"

    $NoReply = $true

    $NrOfLoops = 0
    $MaxNrOfLoops = 20

    while ($NoReply -AND $NrOfLoops -lt $MaxNrOfLoops) {

        $NrOfLoops++

        Remove-Variable ReplyTweet -ErrorAction SilentlyContinue
        $TweetTimeline = Get-TweetTimeline -Username $TargetTweetHandle -IncludeReplies -MaximumTweets 20

        if ($TweetTimeline.in_reply_to_status_id_str -contains $Tweet.id_str) {
            $ReplyTweet = $TweetTimeline | Where-Object -FilterScript { $_.in_reply_to_status_id_str -eq $Tweet.id_str -AND $_.user.screen_name -eq $TargetTweetHandle }

            # Make sure we got a reply
            if ($ReplyTweet) {
                Write-Output 'Got a reply!'
                $NoReply = $false
            }
        }
        else {
            Write-Output 'Waiting for a reply...'
            Start-Sleep -Seconds 60
        }
    }

    # Make sure we got a reply and didn't just time out
    if ($ReplyTweet) {
        $PositiveReply = Get-AutomationVariable -Name 'PositiveReplyRegex'

        if ($ReplyTweet.text -match $PositiveReply) {
            Write-Output 'The reply was positive. Sending confirmation tweet and starting coffee brewer!'

            $ConfirmationTweet = Send-Tweet "@$TargetTweetHandle Consider it done."

            $AzureCred = Get-AutomationPSCredential -Name 'JarvisCred'
            $null = Add-AzureAccount -Credential $AzureCred
            Select-AzureSubscription -SubscriptionName 'Main Azure Subscription'

            $JobInfo = Start-AzureAutomationRunbook -Name 'Start-CoffeeBrewer' -AutomationAccountName Jarvis -RunOn 'JarvisGroup'

            Write-Output "Runbook started on hybrid worker group. I'm done here!"
        }
        else {
            Write-Output 'The reply was negative. Sending confirmation tweet.'
            $ConfirmationTweet = Send-Tweet "@$TargetTweetHandle Alright, I wont do it then..."
        }
    }
    else {

    Write-Output "No reply on tweet detected, let's send out an e-mail instead."

    $WepageLink = Get-AutomationVariable -Name 'StartCoffeeBrewerPage'

# Set the body
$body = @"
Hi,<BR>
<BR>
Since the weather seems to be bad at your current location, I thought you might feel a bit cold.<BR>
<BR>
If you feel a nice cup of coffee would help, just follow <a href='$WepageLink'>this link</A> and press the button on the page and I'll start the coffee brewer for you!<BR>
<BR>
Kind regards,<BR>
Jarvis, running in Azure Automation<BR>
<BR>
PS. I tried to tweet you but didn't get a reply, so I sent you this e-mail instead. DS.
"@

    $SMTPCred = Get-AutomationPSCredential -Name 'SMTPAuthCredential'

    $MailMessageParams = @{
        'To' = Get-AutomationVariable -Name 'MyEmailAddress'
        'From' = "Jarvis <$($SMTPCred.UserName)>"
        'Subject' = 'Would you like some coffee?'
        'Body' = $body
        'UseSsl' = $true
        'Port' = Get-AutomationVariable -Name 'SMTPServerPort'
        'SmtpServer' = Get-AutomationVariable -Name 'SMTPServer'
        'Credential' = $SMTPCred
        'BodyAsHtml' = $true
    }

    Send-MailMessage @MailMessageParams

    Write-Output 'E-mail is sent.'
    }
}
else {
    Write-Output 'Seems the weather is fine, you have to make your own coffee!'
}
If you have read some posts at this blog before, you probably know that I enjoy creating home automation scripts quite a lot, and I’ve named this little project Jarvis after the famous AI, the ‘JarvisGroup’ specified above (Start-AzureAutomationRunbook cmdlet) is the hybrid worker group that runs some of these scripts. If you want to learn more about hybrid runbook workers and how to deploy them, check out this link.
Currently, you can’t use webhooks to trigger runbooks on a hybrid worker, as a workaround, I have another runbook that uses the Start-AzureAutomationRunbook cmdlet to trigger it on the hybrid worker instead, the code of that looks like this:
workflow Start-CoffeeBrewerThroughAzure
{
    $AzureCred = Get-AutomationPSCredential -Name 'JarvisCred'
    Add-AzureAccount -Credential $AzureCred
    Select-AzureSubscription -SubscriptionName 'Main Azure Subscription'

    Start-AzureAutomationRunbook -Name 'Start-CoffeeBrewer' -AutomationAccountName Jarvis -RunOn 'JarvisGroup'
}
To add a webhook to that runbook, you need to be in the Azure Preview portal, when you open the runbook details you’ll see the icon for creating a webhook, it looks like this:
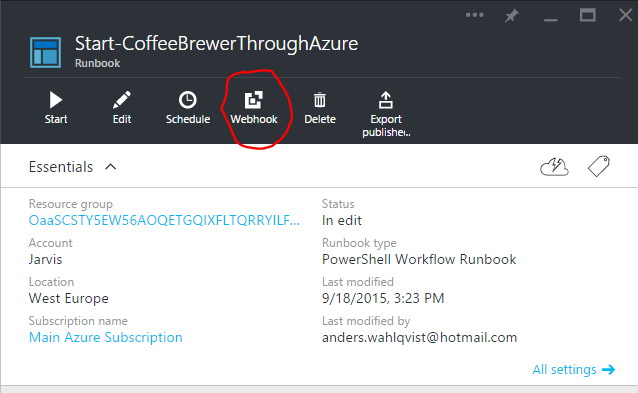
Click on it, select “Create a new webhook”:

This will get you to this page:

Fill out the details of your new webook, and don’t forget to copy the link before clicking OK!
Voila, you’ve created a webhook! If you want to get more information regarding webhooks, check out this link.
The final thing we need now is the code for starting the coffee brewer (Start-CoffeeBrewer), I’m using the Home Automation Module I’ve written to achieve this. The runbook code looks like this:
workflow Start-CoffeeBrewer
{
	$TelldusCred = Get-AutomationPSCredential -Name 'TelldusCred'
	$CoffeeBrewerDeviceID = Get-AutomationVariable -Name 'CoffeeBrewerDeviceID'

	InlineScript {

		Write-Output 'Connecting to Home Automation Service...'
		Connect-TelldusLive -Credential $using:TelldusCred

		Write-Output 'Turning on the coffee brewer...'
		Set-TDDevice -Action turnOn -DeviceID $using:CoffeeBrewerDeviceID
	}
}
The module containing the Connect-TelldusLive and Set-TDDevice cmdlets are installed on the target hybrid worker since that’s where it will execute (and as stated above, the module won’t be pushed out to hybrid workers automatically from Azure Automation even if you have imported them there, but that will be fixed in the future).
So, we’re all set now…
But, does it all work?
Well, you’d obviously have to come by for coffee some time to see this for yourself, but yes, it actually does! 🙂
Here are some screenshots of the first runbook in action:
When it’s not raining, test ran in the portal:
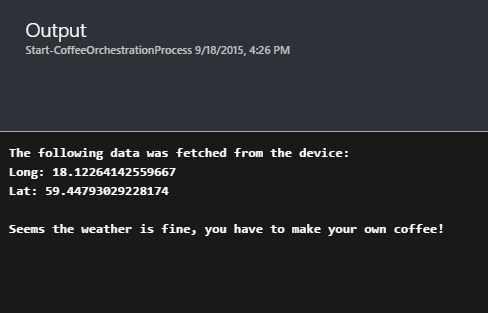
When rain is detected, test ran from the PowerShell ISE AddOn:

Tweet screen shot:
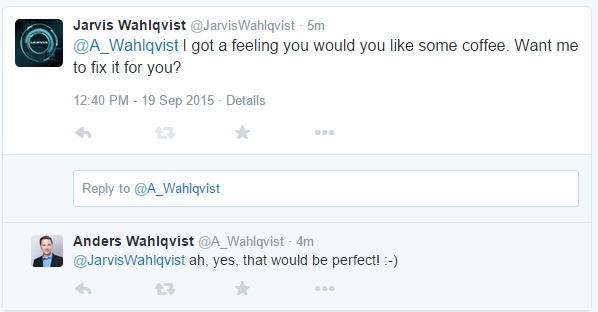
And confirmation tweet:

You can also view the tweets at this link.
Mailmessage in phone:

The webpage form for starting a runbook through a webhook:
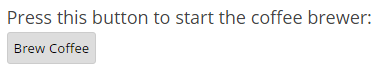
The code for that form with the token masked (be aware that posting a form like this on a public website without authentication is a MAJOR security risk depending on the runbook type, it’s only for demo purposes in this case):
<HTML>
<HEAD><TITLE>Coffee brewer start!</TITLE>
</HEAD>
<BODY>
<form action='https://s2events.azure-automation.net/webhooks?token=***************************' method='post'>
<FONT size ='4'>Press this button to start the coffee brewer:</FONT>
   <button type='Submit'>Brew Coffee</button>
</form>
</BODY>
</HTML>
And finally, a short video of the Coffee brewer being started through Azure Automation (including a fuzzy reflection of my tired self being mesmerized by the coffee (first cup of the day 😉 )):
Brewing coffee through Azure Automation from Anders Wahlqvist on Vimeo.
Summary
I hope this post have helped you to see how flexible Azure Automation actually is. PowerShell is truly versatile and a great “glue-language” to tie different services together. Even though using Azure for turning on a coffee brewer might be a bit overkill, if it’s possible to integrate a weather service, an iPhone, e-mail, twitter and a coffee brewer using it, it can probably manage your IT environment aswell, don’t you think? 🙂
As always, happy automating anything!